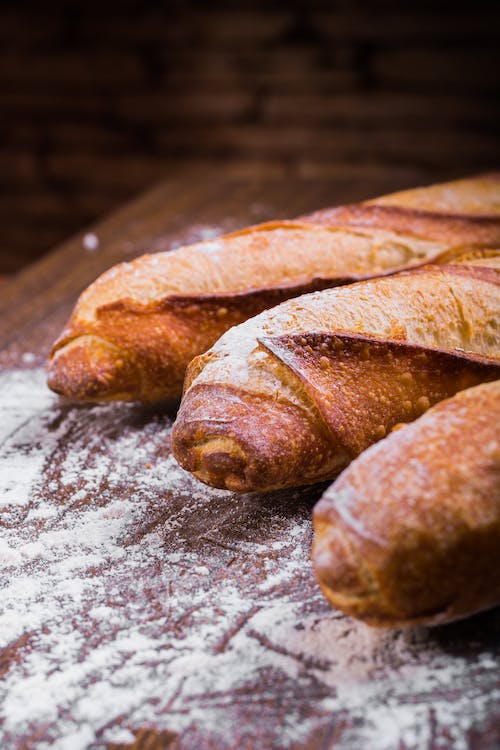
The smell of freshly baked bread fills you up with a welcoming delight. It can remind people of a loving hug from a favorite person. Personally, the yeasty smell makes us happy and blissful. Bread making is a tedious task. But the soft and fluffy bread makes it worthwhile. However, if that is not the case, it is heartbreaking.
There is a whole science behind baking bread. One has to understand different terms, ensure correct measurements of ingredients, and the accurate baking temperature. It is very disappointing when the bread is dense and does not melt into the mouth. Most of us want to throw everything out and never look back. But wait! before doing that, try one more time with our tips. These tips will make your bread fluffy and soft
1. Understand The Science Behind Baking
Most of the bread recipes call for yeast. It is a dormant organism and does not react until it has a host. Similar to other organisms, it has a temperature range in which it can survive. If the temperature is too cold or too hot, the yeast will die, and no reaction will occur. For this reason, all the bread recipes use warm water for yeast. The water acts as a host and reactivates it. The yeast then reacts with the sugars and release carbon dioxide as a by-product. Carbon dioxide is responsible for the tiny bubbles that we see in the bread.
Protip: activate the yeast in a separate bowl first. You can do that by adding water, yeast, and a little sugar to a bowl. If the mixture is ready, you will see a lot of bubbles in it. If the yeast does not activate, you will not see any difference.
If there is nothing to hold the bubbles, they will disappear. The proteins in the flour produce a stretchy material. It is known as gluten. It retains the tiny bubbles together and helps in making your bread fluffy.
2. Accurate measurements
Accurate measurements are critical in baking. You don’t have a margin to eyeball the ingredients. If you want your bread to be consistently fluffy, ensure that your measurements are correct. Did you know that one cup of dry ingredients and one cup of wet ingredients have different weights? For example, one cup of flour is 128 grams, and one cup of milk is 230 grams. Experts recommend weighing your ingredients on a scale. It allows for accurate measurements every time, which ensures consistent results. There might be times when a recipe is in cups, but you don’t have measuring cups at hand. There is no need to panic. There are a lot of measurement conversion charts for you. For instance, Mynordicrecipes.com can help you convert your ingredients from cup to ounce to grams and vice versa.
3. Bread flour Vs. All-purpose flour
Different recipes call for different types of flours. Some recipes use all-purpose flour, while others use bread flour. But do they make a difference? The answer is Yes, it does make a difference. Bread flour has a comparatively higher protein content than all-purpose flour. Protein is essential for the production of gluten. We all now know how vital gluten is for fluffy bread. We recommend switching to bread flour when you are making bread. You can also use it in your pizza dough. It will make a huge difference.
4. Dough Enhancer
Dough enhancers or conditioners help improve the texture of your bread. These are ingredients other than the conventional bread ingredients such as flour, yeast, water, sugar, etc. Many professional bakers use dough conditioner as it provides many benefits. It helps the bread to stay fresh for a longer time. It also accelerates the process and decreases the proofing time. If you are using bread flour, it is possible that it already contains a bread enhancer. If not, you can buy it from your local market and add it according to the label on the packet. Remember not to add too much, or it can ruin the texture of your bread.
5. Do the Membrane test
One of the things that confuse home bakers is kneading. If you don’t knead the bread enough, the gluten will not activate and make the bread dense chewy. The membrane test can help you know if the dough got well-kneaded. To perform the test, take a small portion of your dough and stretch it. If it tears, the dough needs further kneading. If it extends into a thin layer through which you can see, your dough is ready. You can also know that the dough is ready when it stops sticking to your fingers during kneading.
Conclusion
Bread is a staple food in many houses. There are many variations of bread. However, their fundamental method is the same. If you can understand and learn the basics of bread making, then there is no stopping you. The options are unlimited. You can even make bread art and display your artistic side. If you follow our tips, we know that you will be a bread expert in no time.

